Have you ever wanted to bake a cake but didn’t feel like whisking by hand or cleaning up a mixer and bowls afterward? The good news is that you can prepare a delicious, soft, and fragrant cake — using only a blender. In this article, we’ll explore how to make amazing cakes with practicality, without losing flavor, texture, or quality. This method is perfect for people with busy lives or small kitchens. No need for heavy appliances or extensive cleaning.
This content is ideal for beginners, for those who want to save time in the kitchen, or even to include simple recipes in your cake sales lineup (as discussed in articles #20 and #21). And best of all: fewer dirty dishes to wash!
Why Choose Blender Cakes?
Blender cakes represent simplicity without compromising quality. They allow people who are intimidated by complex baking steps to make homemade cakes confidently. They’re also a great introduction to baking for kids or teenagers learning to cook.
The blender ensures that ingredients like fruits, vegetables, and liquids are well incorporated, creating a smooth and moist batter. This is particularly useful for cakes with natural ingredients like bananas, carrots, or yogurt. The process is fast, and the result is reliable — perfect for daily baking.
Types of Cakes That Work Best in the Blender
While not all cakes adapt well to the blender method, several delicious options do:
– Simple vanilla or chocolate cakes
– Fruit-based cakes like banana, apple, or orange
– Vegetable cakes such as carrot or beetroot
– Cakes with condensed milk, coconut milk, or yogurt
– Dense and moist cakes, ideal for coffee or breakfast
Sponge or foam cakes, like chiffon or genoise, should be avoided with this method because they require delicate aeration of eggs that only a mixer or manual technique can achieve.
Essential Equipment and Preparation
You’ll need the following basic tools:
– A sturdy blender capable of handling dense batter
– A spatula to help remove batter and mix manually if needed
– A properly greased cake pan
– A preheated oven (180°C / 350°F)
Optional but helpful tools include a flour sifter to improve texture and measuring cups for accurate proportions. A good non-stick pan also helps ensure even baking and easy release.
Tips for a Perfect Blender Cake
- Always add liquids first: This prevents flour from sticking to the blades and helps the batter blend smoothly.
- Mix dry ingredients separately: Even with a blender, combining flour, baking powder, and cocoa beforehand ensures consistency and avoids clumps.
- Avoid overmixing: Once you add flour, blend just enough to incorporate it. Overmixing can develop too much gluten and lead to a tough texture.
- Add baking powder last: Stir gently with a spatula to preserve its leavening power.
- Don’t overfill the blender: If making a large batch, mix in portions or finish mixing in a bowl to prevent spills or motor strain.
- Monitor oven temperature: A steady 180°C (350°F) usually works well. Refer to article #10 for how temperature affects baking results.
Base Blender Cake Recipe
Ingredients:
– 3 eggs
– 1 cup milk
– 1/2 cup oil
– 1 1/2 cups sugar
– 2 cups all-purpose flour
– 1 tbsp baking powder
Instructions:
- Blend the eggs, milk, oil, and sugar for about 30–40 seconds.
- Add the flour gradually while blending for another 30–40 seconds.
- Add the baking powder and fold in gently using a spatula.
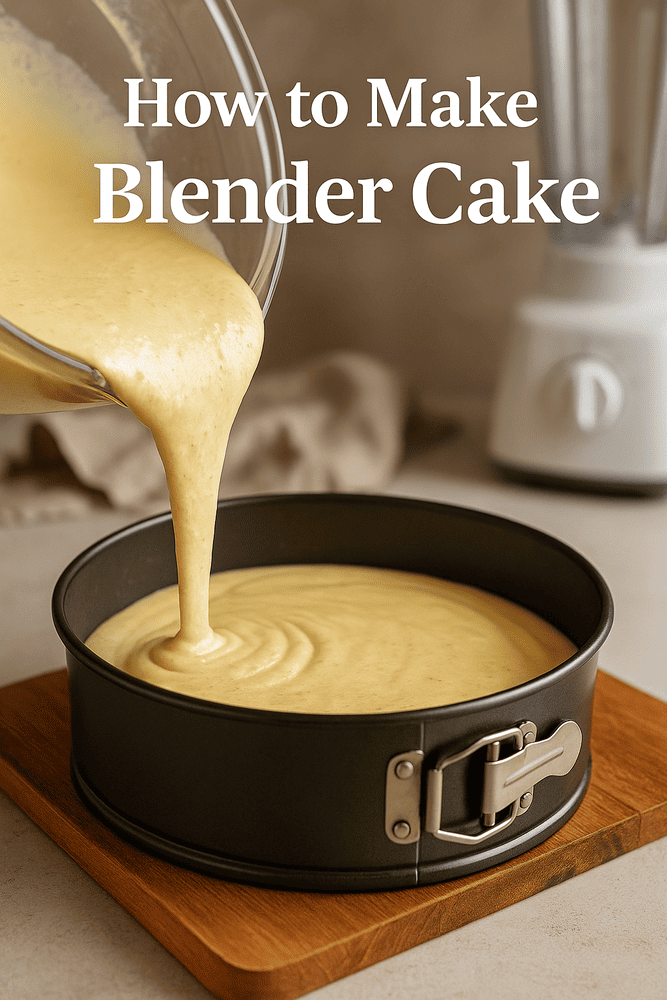
- Pour the batter into a greased and floured pan.
- Bake for 35–40 minutes or until golden and firm to the touch.
This basic recipe is versatile. You can create a carrot cake by blending in two medium carrots, make it chocolate by adding 1/2 cup of cocoa powder, or turn it into an orange cake by substituting milk with fresh orange juice.
Creative Variations and Add-ins
Once you master the basic blender cake recipe, it’s time to get creative. Here are some ideas to personalize and elevate your cakes:
– Add spices like cinnamon, nutmeg, or cardamom for warmth.
– Mix in nuts or chocolate chips after blending for texture.
– Use coconut flakes or chopped dried fruit for a tropical twist.
– Add a swirl of jam, dulce de leche, or peanut butter before baking.
These small changes make each cake unique and appealing to different tastes.
Commercial Advantages of Blender Cakes
If you’re building a home bakery business, blender cakes can help you scale up production. They’re efficient, low-cost, and require fewer tools, making them ideal for small kitchens. This ties into strategies we covered in articles #20 and #21. Offering a line of blender cakes can also attract customers looking for homemade quality with quick delivery options.
Additionally, blender cakes work well for portioned products like mini cakes, jars, or snack kits. They’re easy to personalize with simple toppings or glazes, which increases perceived value with minimal effort. They’re great for markets, fairs, and orders that require quick turnaround.
Common Mistakes and How to Avoid Them
– Overmixing the batter: Stick to short bursts after adding flour.
– Blending baking powder: Always fold it in manually.
– Under-greased pans: Ensure your pan is well prepared to avoid sticking (see article #42).
– Opening the oven door early: Wait at least 30 minutes before checking, or the cake may collapse (see article #19).
Final Thoughts: Simplicity Meets Flavor
Blender cakes are a beautiful example of how convenience and quality can go hand in hand. Whether for busy weekdays, quick sales, or beginner-friendly bakes, this method offers reliable, delicious results every time.
By starting with these recipes and adapting them to your preferences, you can build confidence and creativity in the kitchen — and maybe even expand your product line.
Next up: Article #23 — A Complete Guide to Homemade Cake Fillings. Because the only thing better than a good cake is a great cake with the perfect filling!