Have you ever followed a cake recipe step by step, only to be disappointed with the results? The texture turns out dense, the cake doesn’t rise properly, or it ends up dry? Believe it or not, the issue may not be the ingredients — it could be how you mixed your batter. Mastering mixing technique is just as important as choosing quality ingredients. The way you beat the batter directly affects the texture, fluffiness, structure, and even the flavor of your cake. In this article, we’ll dive deep into why this step matters so much and how to execute it with confidence and precision.
When we mix cake ingredients, we’re not simply combining different elements. We’re initiating chemical and structural reactions that determine how the cake will behave in the oven. Particularly during the creaming stage, when fat is mixed with sugar, we’re incorporating air into the batter — those tiny bubbles are critical for a fluffy, well-risen cake. If you want your cakes to turn out consistently great, understanding how to mix properly is essential.
There are several mixing methods, and each one serves a specific purpose. The most traditional is the creaming method. In this technique, butter (or shortening) is beaten with sugar until the mixture becomes light and fluffy — a process known as aeration. This trapped air will expand during baking and help the cake rise. Eggs are then added one at a time to maintain a stable emulsion. Finally, the dry and wet ingredients are alternated — typically starting and ending with the dry — to preserve the cake’s structure.
In the sponge method, commonly used in lighter cakes like sponge or genoise, eggs are beaten with sugar until they double in volume. The air incorporated into the eggs is what helps the cake rise. Here, dry ingredients must be folded in carefully — ideally with a spatula and gentle upward motions — to avoid deflating the batter. This method works well in recipes that use no fat or chemical leaveners. You can explore this further in our article “How to Bake the Perfect Sponge Cake Every Time.”
Another common technique is the all-in-one method, or “one bowl method,” where all ingredients are mixed at once. Though convenient, it requires extra attention, as it’s easy to overmix and over-activate the gluten in the flour — which leads to rubbery or dense cakes. This style is often used in quick recipes or in cakes made in a blender — a topic we’ll explore in “How to Make a Cake in the Blender That’s Light and Delicious.”
Overmixing is one of the most common mistakes among beginner bakers. When flour is overworked after being added, gluten develops excessively, which results in dense, chewy, or collapsed cakes. It also compromises air retention, preventing proper rise. On the flip side, undermixing can be just as harmful. Poorly mixed batters often have pockets of flour or fat, leading to uneven texture and disappointing flavor. To avoid this, always follow the recipe’s structure and mix only as much as necessary.
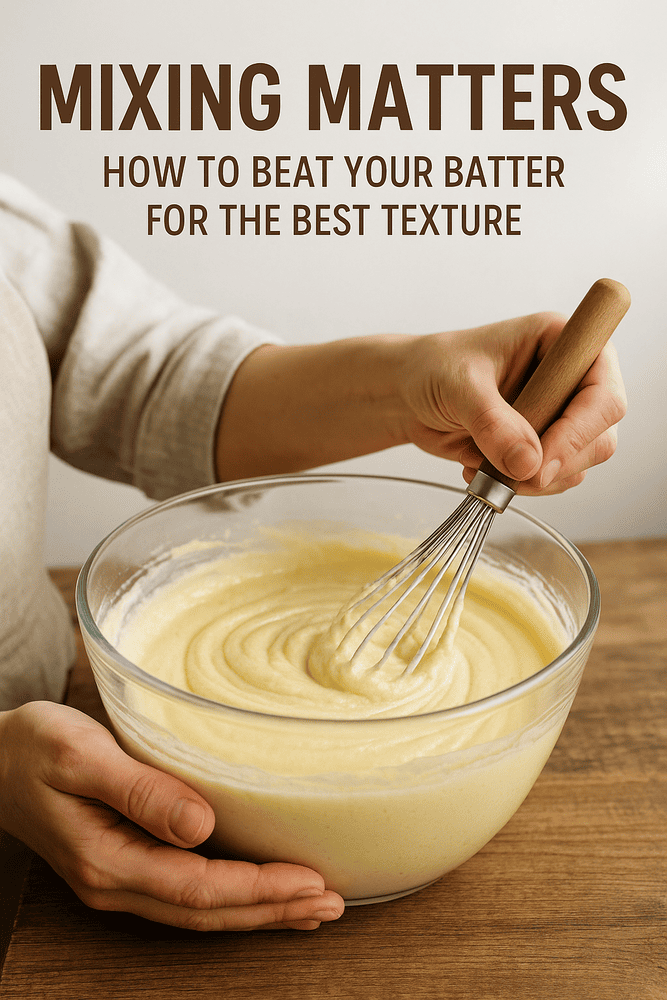
Your tools also make a big difference. A stand mixer is powerful and efficient but can overmix your batter in seconds if you’re not careful. A hand mixer gives you more control. And a whisk (fouet)? It’s a wonderful tool for oil-based or simple cakes, as long as you use it energetically and with the right technique. For more guidance, check out “Essential Cake Baking Tools Every Beginner Should Have.”
Ingredient temperature is another crucial factor. As we discussed in “Why Room Temperature Ingredients Matter,” ingredients like butter, eggs, and milk should be taken out of the fridge at least 30 minutes before baking. This makes them easier to incorporate and leads to a smoother, more uniform batter. Cold ingredients can cause the batter to curdle or become grainy, negatively affecting the final product.
To ensure your batter is properly mixed, follow these practical tips:
- Read the entire recipe beforehand to understand the process.
- Measure all ingredients precisely and bring them to room temperature.
- Beat the butter and sugar until light, creamy, and fluffy.
- Add the eggs one at a time, mixing thoroughly after each addition.
- Alternate adding the dry and wet ingredients, finishing with dry.
- After flour is added, lower the mixer speed and mix just until combined.
- Scrape down the sides and bottom of the bowl with a spatula.
- Trust the texture more than the clock — a smooth, shiny, airy batter is the goal.
Mastering how to mix cake batter can be a turning point in your baking journey. With practice, attention to detail, and a feel for texture, you’ll develop the skill to identify the perfect batter consistency with confidence. Most importantly, you’ll gain control over your results, adapting your approach based on the recipe, ingredients, or even the humidity in the kitchen that day.
In our next article, we’ll explore a topic closely connected to mixing: “Baking Soda vs. Baking Powder: What Every Baker Needs to Know.” Understanding when and how to use each leavening agent can help you avoid collapsed, overly dense, or flat cakes.
Remember: a perfect cake begins long before it goes in the oven. It starts with batter that has been mixed with care, attention, and technique. And if you’ve made it this far, you’re well on your way to mastering that art. Keep learning and baking with us here at Bolo no Ponto — your trusted guide to delicious, foolproof cakes.