In the previous article (#20), you learned how to turn your passion for cakes into a real source of income — from finding your signature recipe to promoting and pricing your products properly. But if you truly want to stand out in the market and attract more customers, you need to take the next step: learning how to stack and fill layer cakes like a professional.
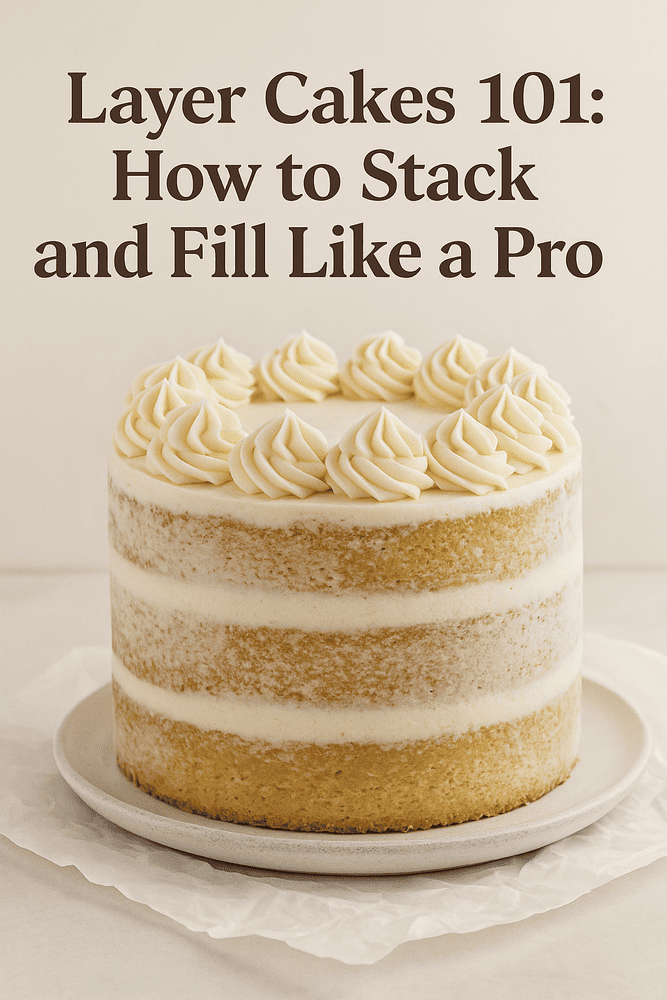
Layer cakes are the darlings of parties, weddings, and special celebrations. They’re eye-catching, visually delightful, and allow for more personalization — which also means greater value and profit potential. If you’re ready to elevate your home baking game, this guide is for you.
Why Make Layer Cakes?
Layer cakes make a visual and flavorful impact. They allow you to experiment with textures, fillings, and decorations. Plus, they open up opportunities to offer premium options for your clients (as discussed in article #20).
Step 1: Start with a Well-Baked, Leveled Cake
Before stacking, you need stable bases. Use the same pans for all layers. Grease them correctly (see article #42). Bake at a controlled temperature to avoid domes and cracks (see article #10).
After baking, level the tops with a serrated knife or cake leveler. An uneven cake compromises the entire structure. Tip: freeze the cake for 30 minutes before cutting — it becomes firmer and easier to work with.
Step 2: Choose the Right Filling for Each Cake
The filling is the heart of a layer cake, but it can also be the downfall if it’s too soft or runny. Prefer firm, stable options:
– Firm ganache
– Gourmet brigadeiro
– Buttercream
– Cream cheese or mascarpone-based fillings
Avoid overly liquid fillings or fresh fruits that release moisture. For more, see article #23: Complete Guide to Homemade Cake Fillings.
Step 3: Use a Dam Ring
Here’s a golden tip: before adding the filling, use a piping bag with buttercream or firm ganache to create a ring around the edge of the bottom layer. This dam prevents the filling from leaking out the sides.
Then, add the filling in the center and spread it evenly without crossing the dam.
Step 4: Stack on a Solid Surface
Assemble your cake on the same base it will be served or transported on. This avoids risky moves later. A turntable makes it easier to apply filling and build evenly.
The order is simple:
- Leveled base
- Dam ring
- Filling
- Another leveled layer
Repeat until done.
Step 5: Apply a Crumb Coat
A crumb coat is a thin layer of frosting that seals in crumbs before the final coat. Use a spatula to spread a light layer of buttercream or ganache. Refrigerate for 20–30 minutes. This ensures a clean and professional finish.
Step 6: Smooth, Decorate, and Get Creative
Now it’s time to impress!
– Use a bench scraper or straight edge to smooth the sides
– Work slowly, rotating the turntable
– Add piped decorations, fruits, sprinkles, edible flowers, or custom toppers
For ideas using only tools you already have at home, check article #24: Decorating Cakes with What You Already Have.
Step 7: Transport with Confidence
After assembling and decorating, transportation can be stressful. But with the right steps, everything arrives safely (see article #34):
– Chill the cake beforehand
– Use proper cake boxes
– Support on a flat, firm car surface
– Avoid sudden turns and slopes
Common Mistakes When Making Layer Cakes (and How to Avoid Them)
- Using runny fillings → Choose firm textures and apply a dam ring
- Not leveling the layers → Trim the tops and use proper tools
- Pressing too hard when stacking → Can cause filling to ooze out
- No internal support on tall cakes → Use dowels or straws for support
- Poorly smoothed frosting → Practice with crumb coat and scraper
Bonus Tip: Practice with Smaller Cakes
Start with two-layer, 6- or 8-inch cakes. It’s the perfect size to learn leveling, filling, and decorating without stress or waste. Once confident, try taller or larger formats.
Conclusion: Every Layer Matters
Building a layer cake is like telling a story: each level has a role, a flavor, a purpose. With the right techniques, you turn simple ingredients into beautiful, stable, and delicious masterpieces.
Whether for sales or celebrations, mastering layered cakes brings you closer to a professional level. And when you feel confident with the foundation, creativity can soar — in flavors, colors, and heights.
Up next: How to Make a Delicious Cake Using Only a Blender — perfect for busy days or those seeking convenience without compromising flavor.