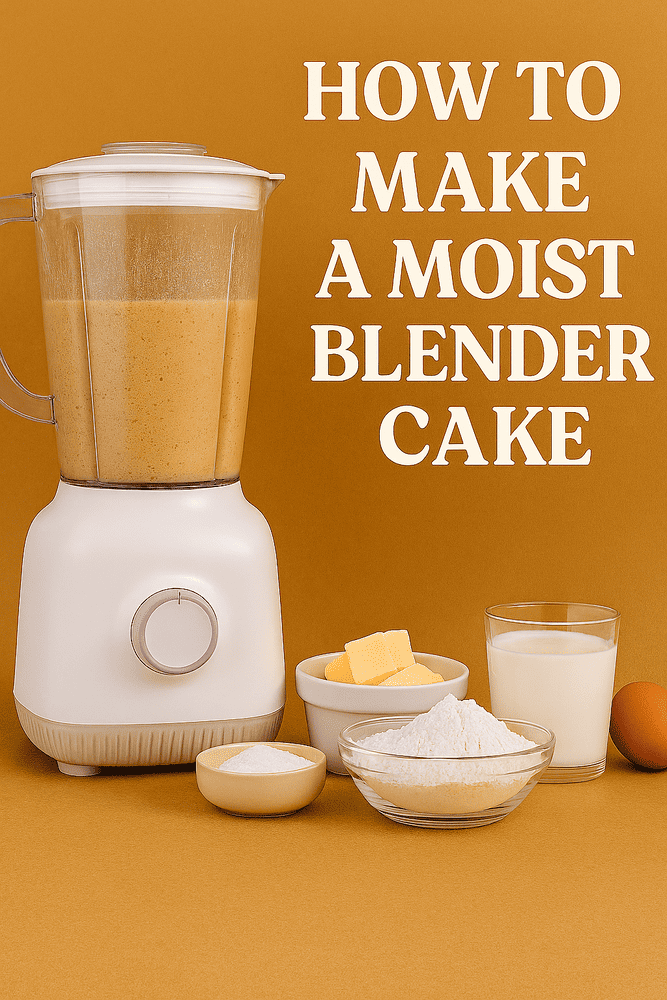
Blender cakes have become increasingly popular among home bakers — and for good reason. They’re quick, easy, and require minimal equipment. But there’s a common misconception that blender cakes are less fluffy or moist than traditionally mixed ones. That couldn’t be further from the truth.
In this article, we’ll walk you through the secrets to making a soft, airy, and delicious blender cake — one that rivals any professionally made dessert. Whether you’re short on time or just want to simplify your baking routine, this guide will ensure your cake is never dry, dense, or dull.
This post builds on ideas from previous articles like “The Science Behind Fluffy Cakes,” “Secrets to Moisture,” and “How to Bake Without a Mixer.” It’s also ideal for anyone following article #20 (selling cakes from home) or #38 (organizing your baking process). Let’s get started!
Why Choose a Blender Cake?
Using a blender for cake batter might sound unconventional, but it offers some impressive advantages:
- Speed: Blend your ingredients in seconds.
- Ease: No need for whisking, creaming, or sifting.
- Less mess: Fewer bowls and utensils to clean.
- Accessibility: Ideal for beginners or those without a stand mixer.
Contrary to popular belief, you don’t have to sacrifice texture or flavor. With the right technique and ingredients, a blender cake can be just as light and tender as any traditional cake.
The Perfect Blender Cake Formula
1. Choose the Right Ingredients
Use ingredients that blend smoothly and promote structure and moisture:
- Eggs: Help with structure and richness. Room temperature is best.
- Sugar: Use granulated sugar for better blending.
- Fat: Choose oil or melted butter for a smooth blend. Oil tends to produce a moister cake.
- Flour: All-purpose or cake flour both work — sift before adding.
- Leavening agents: Baking powder or soda is essential for rise.
- Liquid: Milk, yogurt, or buttermilk for softness and flavor.
Optional ingredients for extra softness:
- Applesauce
- Mashed bananas
- Greek yogurt
These additions also reduce the need for extra fat or sugar.
2. Blend in the Right Order
One of the biggest mistakes people make is blending everything at once. To avoid overmixing and ensure a light texture, follow this sequence:
- Wet Ingredients First
Add eggs, oil (or melted butter), sugar, and liquid to the blender. Blend until smooth. - Dry Ingredients Last
Add flour, baking powder/soda, and salt last. Pulse a few times until just combined — don’t over-blend! This preserves the airiness of the batter.
Tip: If your blender is small, blend in two batches or mix the dry ingredients manually after the initial blend.
Common Blender Cake Mistakes (and How to Avoid Them)
1. Overmixing
Excessive blending activates the gluten, leading to a tough cake. Blend only until the ingredients are just combined.
2. Skipping Sifting
Even in a blender, unsifted flour can clump and create uneven texture. Always sift before adding to the blender.
3. Cold Ingredients
Using cold eggs, milk, or butter can shock the batter. Let everything come to room temperature for better emulsion.
4. Wrong Blender Type
Not all blenders are strong enough. Use a high-speed blender for thicker batters. Otherwise, combine dry ingredients by hand.
Best Flavors for Blender Cakes
While any cake can technically be made in a blender, some flavors shine with this method:
- Vanilla Yogurt Cake: Soft, moist, and rich in flavor.
- Chocolate Banana Cake: Blends beautifully and bakes super fluffy.
- Coconut Lime Cake: Tropical and refreshing.
- Carrot Cake: Use pre-shredded carrots to make blending easier.
- Lemon Poppy Seed Cake: Zesty and light — ideal for spring.
Baking and Cooling Tips
- Preheat your oven fully (10–15 minutes).
- Grease and flour your pan or use parchment paper.
- Pour batter immediately into the pan after blending.
- Avoid opening the oven door in the first 25 minutes.
- Let the cake cool for 10–15 minutes in the pan before transferring.
These tips are aligned with lessons from articles #10 (oven temperature) and #19 (why cakes collapse).
How to Decorate a Blender Cake
Once your cake is cool, you can keep it simple or go bold:
- Dust with powdered sugar or cocoa.
- Drizzle with chocolate ganache or fruit glaze.
- Top with whipped cream and berries.
- Layer with simple fillings like jam, Nutella, or lemon curd.
Check out article #24 for easy decoration ideas using household items!
Selling Blender Cakes: A Smart Strategy
If you’re looking to sell homemade cakes, blender cakes are ideal. They offer:
- Consistent results
- Faster prep times
- Easy scalability
- Lower equipment costs
Customers won’t know it was made in a blender — they’ll just remember how delicious it was. Combine this technique with strategies from article #20 (selling from home) and #45 (year-round cake menu) for a successful small business model.
Final Thoughts
Blender cakes are more than a quick fix — they’re a powerful tool in any baker’s repertoire. With the right techniques and ingredients, they can be just as indulgent, fluffy, and flavorful as any cake made by hand or mixer.
Next time you want a homemade cake without the fuss, turn to your blender — and this guide — for perfect results every time.
Coming next: “How to Decorate Cakes Using Items You Already Have at Home” — a creative, budget-friendly guide for bakers of all levels.
